Surviving the Rubicon Trail in A Jeep Gladiator
By now, hopefully you have had a chance to watch our latest On The Trail video where we traverse the legendary Rubicon Trail. If not, click HERE to give it a watch. This had been a trip I’d been looking forward to for some time. In fact, almost one year exactly as wildfires the previous year would prevent me from doing the original trip. My journey to the Rubicon and back would be 10-day, 6,200-mile adventure.
While I managed to have a mostly trouble-free trip, my 2020 Jeep Gladiator Rubicon didn’t come out completely unscathed. In this article, I’ll cover some of the challenges and results from my Rubicon journey. I will also tell you exactly what I would do differently if, I mean when, I do the trip again. Enjoy.
Build Notes
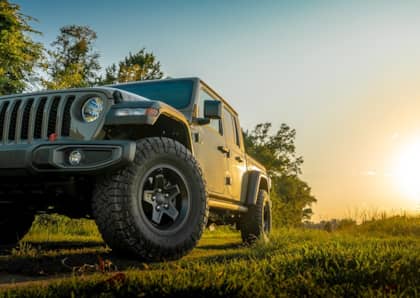
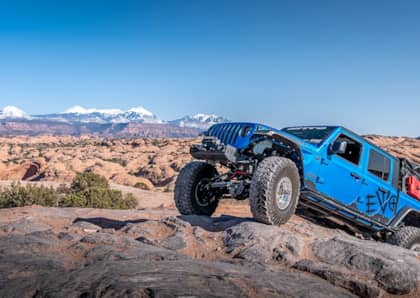
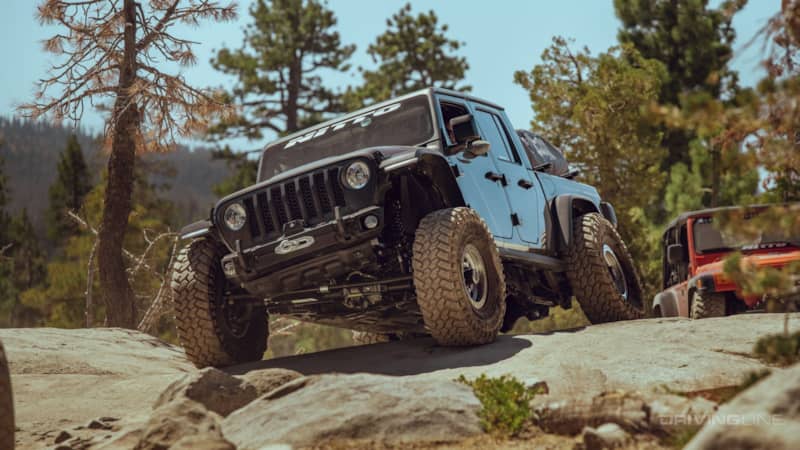
For this trip, I would be piloting my 2020 Jeep Gladiator Rubicon. Some of the build highlights include 40x13.50R17 Nitto Trail Grapplers on 17x8.5 Trail Ready beadlocks, 72.5-inch-wide Dynatrac ProRock XD60 axles, a 3-inch JKS Manufacturing Suspension lift, Fox 3.0 IFP Adjuster shocks, JE Reel Drivelines, PSC hydraulic-assist steering, Rugged Ridge front bumper and winch.
Airing Down
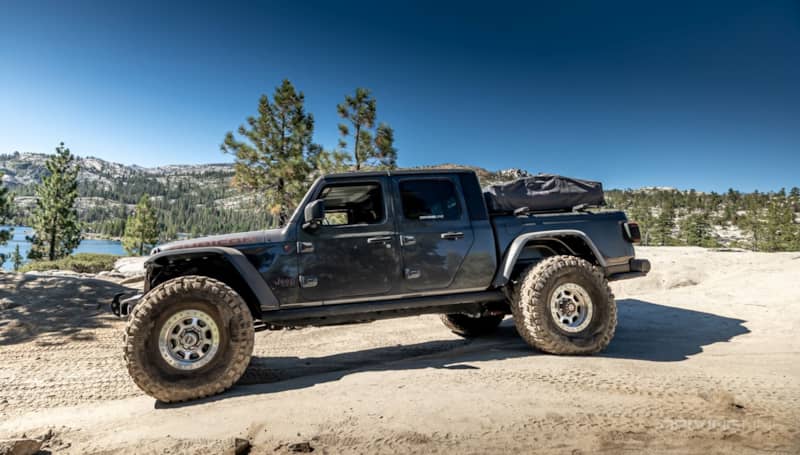
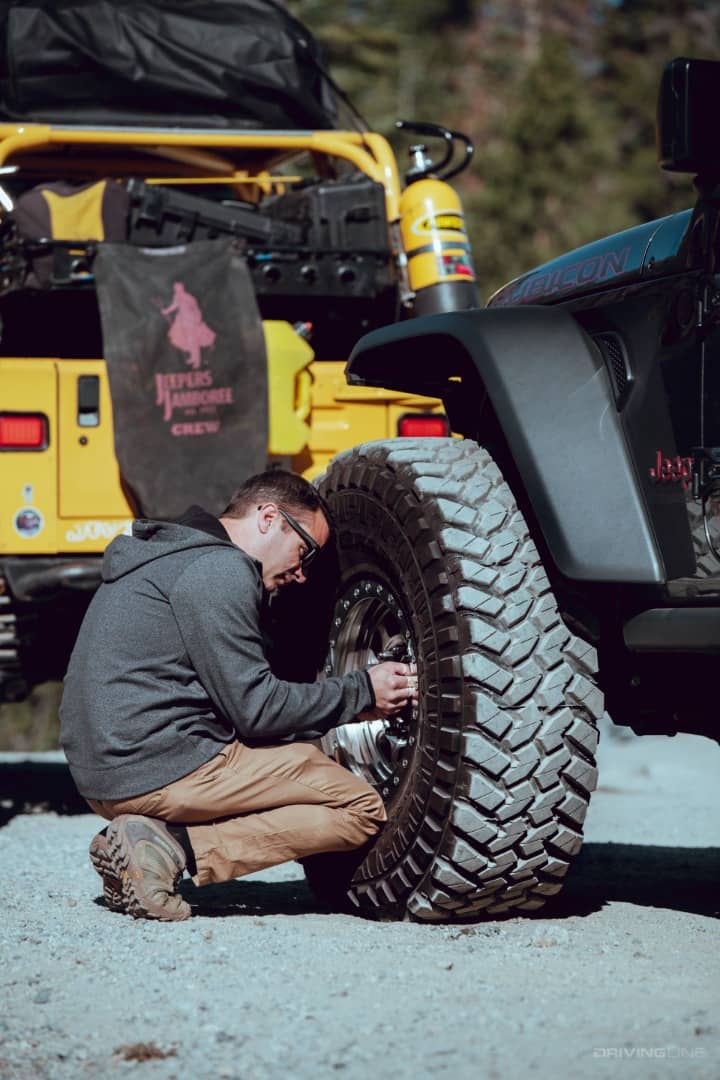
In general, I like to drop my 40-inch Nitto Trail Grapplers to around 8 psi on the trail. This gives me an incredible contact patch and an extremely plush ride. If I had to do it over again, I probably would have only dropped the air pressure to 13psi. The reason being that I had more weight in the vehicle that I normally carry. So, my ground clearance was already lower than usual. Airing down is important on this trail, but with the Gladiator’s long wheelbase, every inch of ground clearance is important.
Broken Taillight, Again
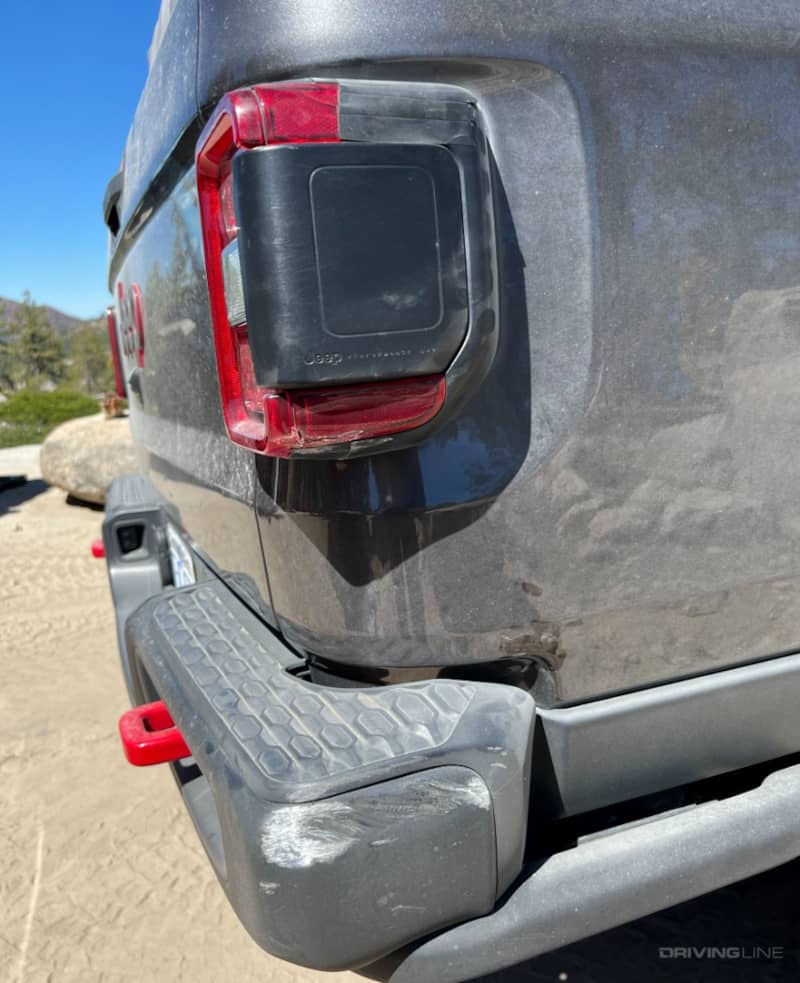
Against good advice I had received from a fellow Gladiator owner who just completed the Rubicon Trail, I decided to keep my taillights bolted in place. I’ve hit the passenger light no less than ten times off-road since purchasing my Gladiator over two years ago. It wasn’t a big surprise when less than an hour into the trail, I broke the light and pushed it out of the body yet again. Word of advice- pull your taillights before you hit the trail. I ended up pulling my passenger light off on the second trail day.
The Little Sluice
Boulders the size of washing machines line the Little Sluice with few options to navigate around them. A taller rig with a shorter wheelbase shines in this section. It would be here that I would exercise my Rugged Ridge winch and comedown hard on my rear sway bar link. This section can technically be safely bypassed if you are not up for the challenge. This was the only time on the trail I needed to use my winch to keep moving. If I had it to do again, I probably would have picked a different line. I’m not saying that I wouldn’t have trouble with the new line, but I obviously know the one I picked doesn’t work for my setup.
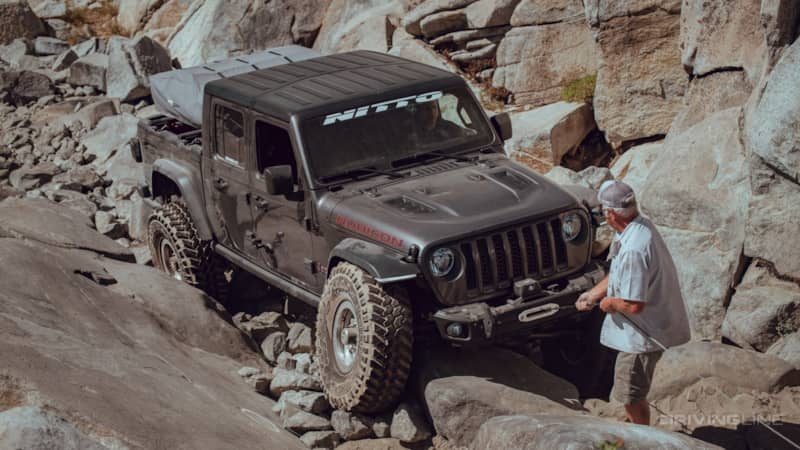
Sway Bar Snap
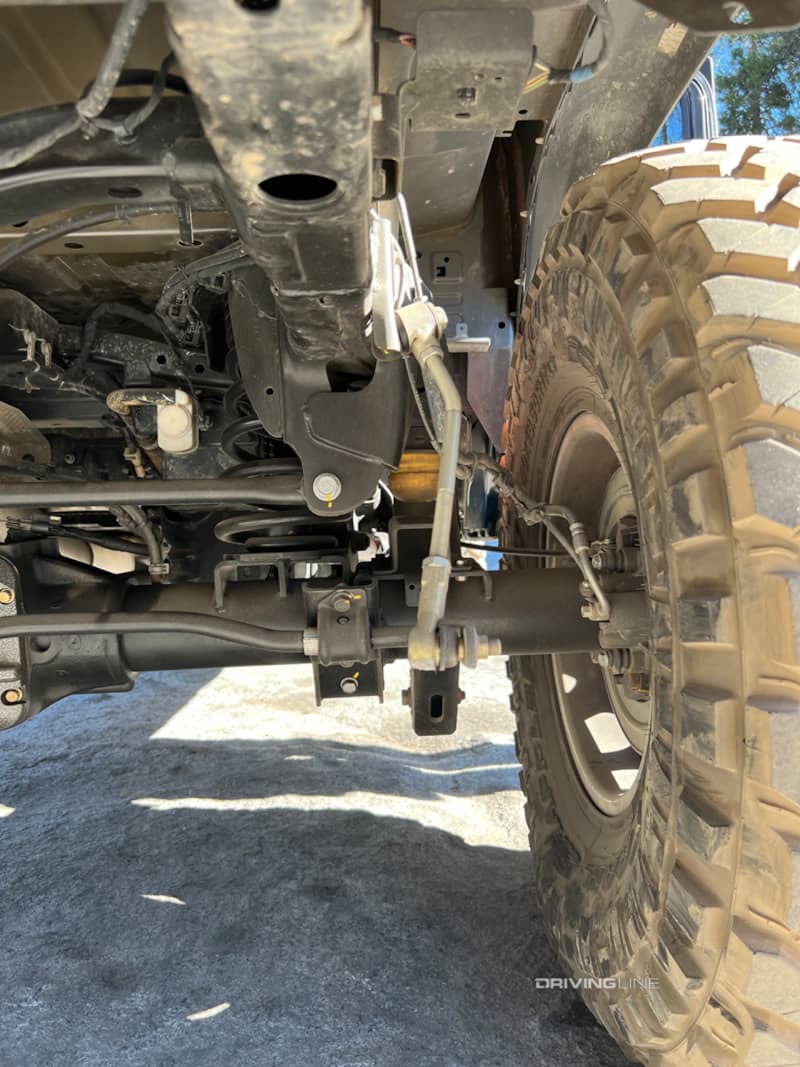
Slamming down on my rear sway bar link not only bent the link but damaged the mount at the frame. While I have since fixed this, I did drive out the rest of the trail and 3,000-mile journey back home without the link. Thankfully, I had upgraded my shocks with a set of Fox 3.0 Race Series with DSC adjusters a few months prior to the trip. Increasing the low-speed compression adjuster by a few clicks was all I needed to get the handling back where it needed to be.
Camping
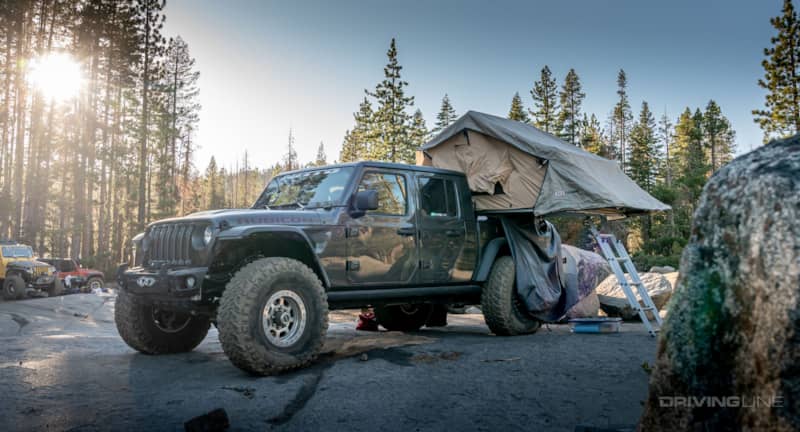
My Simpson Series III tent from ARB served as my camping digs on the trail. It’s incredibly comfortable and pretty easy to deploy. I like that it kept me off of the ground and I felt a little less likely to become a bear snack in my setup. The biggest issue with this configuration was how big and heavy it was. I was already fairly loaded down and adding a 150-pound tent to the back didn’t help. If I had to do it over again, I’d probably leave this tent at home and bring my tent cot.
Skidplate Love
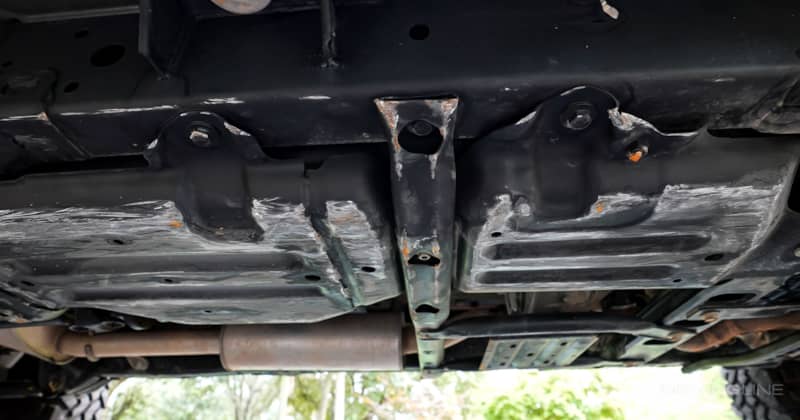
I’m not a big fan of aftermarket skidplates. I find most of them are too heavy, make things difficult to service, and trap heat and debris. If you need a good example of just how well the stock Rubicon skidplates work, just take a look under my Gladiator. I literally hit every single one. After inspecting each post trip for damage or cracked welds, I couldn’t find any. So, I sanded everything down and touched it all up with spray paint.
Slider Damage
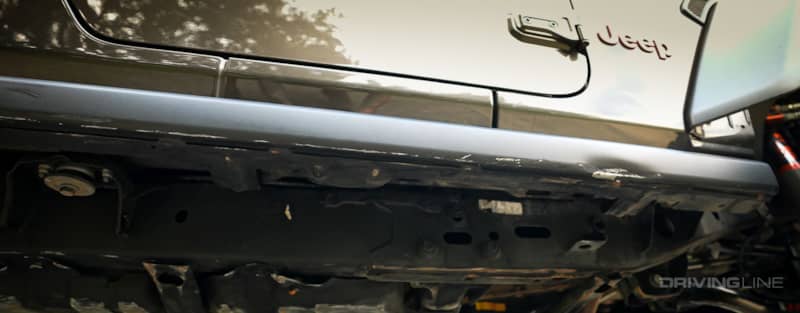
In addition to dragging my belly and framerails, I hit my stock rocker guards constantly. I almost upgraded them before the trip, but I decided to roll the dice. I was genuinely surprised at how well they held up. I slammed down fairly hard coming down the Property Line section of the trail on a massive boulder and that put a good dent in the slider. Thankfully, it didn’t actually push it into the body. I should probably upgrade these, but I still like the clean look of them. Clearly are up to the task!
Body Damage
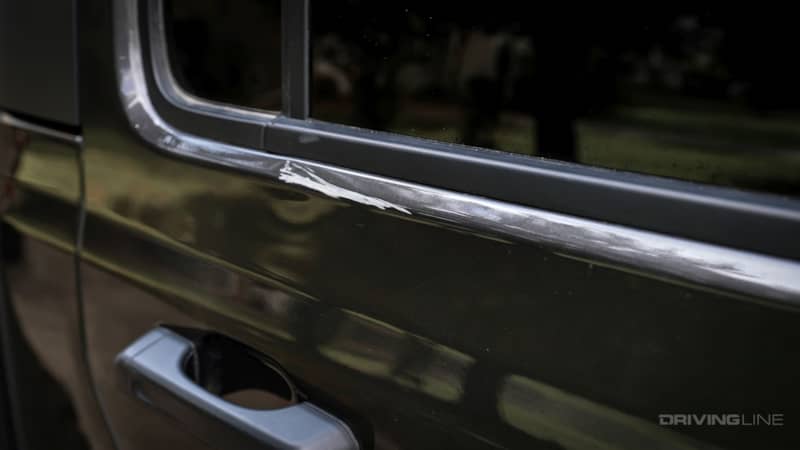
The only real body damage I received was to my passenger rear door. A boulder had rolled from the side of the mountain onto the trail and left me very few options to navigate around it. I’m thankful it didn’t break the glass. I should fix it, but I kind of like the Rubicon battle scar. Half-doors would be a good idea for the next trip.
Bumper Dragging
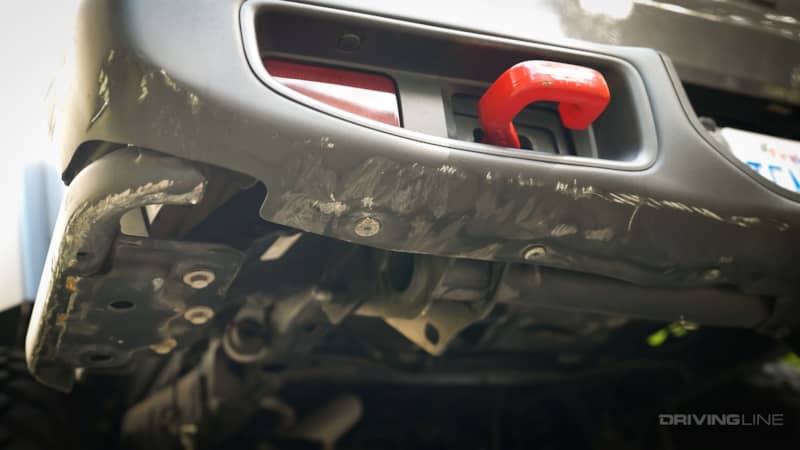
While the factory hitch receiver took the brunt of most of the hits, the back bumper and bed guards routinely were drug across the rocks. Given the lowest point on my new Mits Alloy bed is a full eight inches higher than what I had here, I’m hoping that dragging the rear of this Jeep on the trail is a thing of the past.
Would I Do It Again?
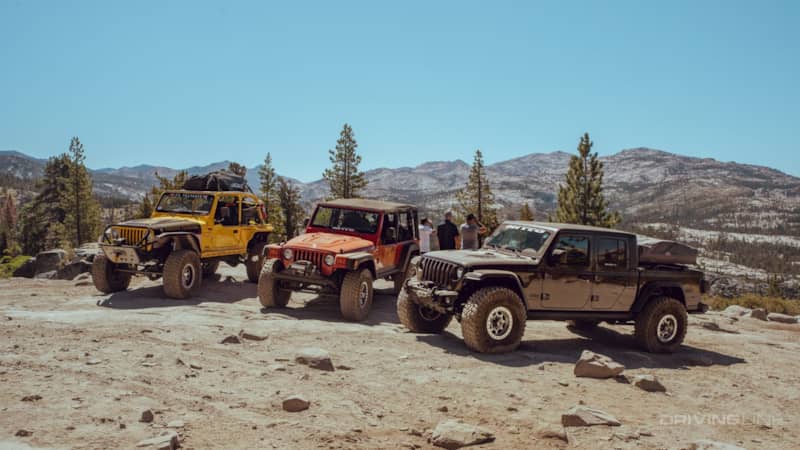
Absolutely. The trip was a blast. This was my fourth time making my way over the Rubicon Trail and by far my favorite trip. Only having three inches of lift is not ideal for the Rubicon, that’s a fact. Well, at least for a Gladiator. I love that I was able to complete the trail with fairly minor damage and make a huge round trip with virtually no problems. It truly is a testament to the quality equipment and how refined (and capable) the Gladiator platform is right out of the gate.
More From Driving Line
- Learn more about our Gladiator Build HERE.


