How To Service Beadlock Wheels
It’s hard to get excited about vehicle maintenance. However, for off-road enthusiasts, it can certainly make the difference between a good or bad day on the trail. Over the years, we’ve found little ways to speed up our basic service and done our best to follow pre-trip routine. While paint marking bolts can help expedite the basic pre-trail bolt check, there’s plenty of hardware on our Jeep that requires putting the torque wrench to work.
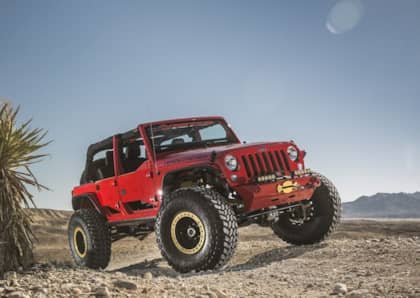
While suspension, drivetrain and armor typically get the closest inspection, our beadlock wheel set gets in the rotation frequently as well. No different than a suspension link bolt, the bolts that latch a beadlock ring in place can work loose over time. On a beadlock wheels such as our KMC Machete Crawl, a series of loose bolts could be equated to complete failure. Thankfully, there’s an easy and safe way to check your beadlock bolts.
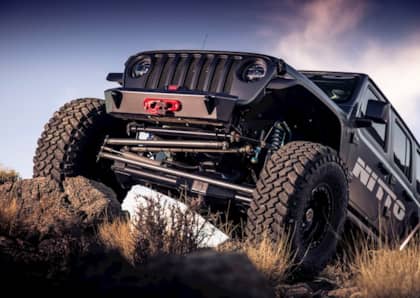
In fact, after every major wheeling outing where our 37-inch-tall Nitto Ridge Grapplers are used at single-digit pressures, we go through a beadlock bolt check to ensure all the bolts securing the external clamping ring in place are torqued to spec. In this article, we’ll go over our time-tested method, which hopefully you’ll find a helpful routine that you too can working into your pre- and post-trip check list.

The Mechanism
One of the most common styles of beadlock wheels use a single external ring to “lock” the outer bead of the tire to the wheel. This helps prevent the tire from coming off of the wheel, something that can easily happen when running extremely low air pressure off-road. For cast aluminum wheels such as ours KMC Machetes, you’ll find steel inserts that thread into the wheel. For this reason, we recommend using anti-seize on your beadlock bolts. This will also help with future service.

Under Pressure
Before touching any of the bolts on the wheel, you’ll need to remove the load off the wheel and tire you are working on. We typically will do one tire at a time. This only requires us to drag around one floor jack and jack stand.

Air Out
Once the load is off the tire, use a tire deflator or valve core remover (shown here) to completely deflate the tire. We like to keep the core out until the bolt check is complete.

Inspection Time
Next, we like to inspect the wheel and tire closely for any damage. Our beadlock rings routinely get smashed on the trail. So, we like to check for any sharp edges that could potentially damage the tire. Given the wheel has countersunk Allen-head bolts, we rarely have an issue with our hardware being damaged. Occasionally, we’ll need to pull the ring from the Jeep and sand down the damaged areas. When that happens, we’ll pull the tire and wheel completely from the Jeep and set it up on a five-gallon bucket to work on it.

Torque To Spec
After inspecting the wheel, we’ll use a torque wrench and work our way around the wheel in a star pattern. For our KMC beadlocks, we set torque value to 22 ft. lbs.

Inspection Intervals
For those of you daily driving your Jeep on beadlocks, you may wonder how often you’ll need to check those bolts. We recommend every oil change. Don’t be surprised if they are not loose or if only one side is. The concept here is just to keep an eye on them so you know either way. Since most modern Jeeps are equipped with TPMS sensors, it’s easy to see if all of your tires are holding the same pressure. If you do notice one is dropping pressure, and you can’t find anything that has punctured the tire, take a soapy sponge and run it around the beadlock ring to check for leaks. If you are finding that the wheel is always loose at every bolt check, it may be time to swap out the hardware.

Want to know more about the advantages of beadlock wheels? Check out this video.


