Do's, Don'ts and Necessary Tools for Changing a Wheel and Tire
MacGyver was a great TV show from the '80s about a man who was really smart and could get himself out of a bad situation by improvising and using the resources he had at hand. There are many times during a hot rodder’s existence where improvising is required to fix something that left you stranded by the side of the road or in the pits at the track for a quick repair. That said, changing a tire should not be a MacGyver moment. Tire/wheel/brake issues are extremely common, and the tools required to perform maintenance or repairs are inexpensive and should be readily available in your garage. Here are the vital tools necessary to remove and properly replace a wheel and tire, and the ways you should and shouldn't use them.
Don’t: Tip your car to one side and hold it in place by a few two-by-fours. Sometimes there are no other options, but then if that’s the case, is it really worth risking your life just to change a tire?
Do: Use a three-ton floor jack. For most cars, a one-and-a-half ton will probably do the job, but once you get into the realm of full-size SUVs and trucks, the one-and-a-half will not cut it (I’ve busted smaller capacity floor jacks by underestimating the weight of the vehicle I was lifting). It’s better to be prepared for anything.

Don’t: Depend on a jack when working under a vehicle or when the vehicle is missing a wheel.
Do: Get a pair of two jack stands, at a minimum, but four is better. I’ve seen jacks fail, and they almost always lose height over time (and I mean quick, like over the span of hours). Yes, one jack stand is probably enough to change a tire, but it’s not great to flex the frame like that for long periods of time, especially not a unibody vehicle. Having two jack stands enables the home mechanic to also rotate tires and properly lift either side or end of a vehicle.

Don’t: Use two wrenches intertwined or a pipe extension on a 3/8-inch ratchet.
Do: Use a half-inch breaker bar. Sometimes adding a pipe extension is necessary or unavoidable, and in a pinch intertwining two wrenches will work. On the other hand, owning a breaker bar is wonderful, as is any tool used for the specific task it was designed for. There’s no worry of tools slipping as you try to torque a lug nut and you can focus all your muscle on loosening the stuck fastener. Also, they’re not expensive compared to other tools because the design is very simple.

Don’t: Ignore gravity.
Do: Use wheel chocks. Or at the bare minimum a pair of 8-inch-long two-by-fours. Anything to keep the wheels car from moving while you’re working on it. Harbor Freight sells a pair of rubber wheel chocks for less than $7. There’s really no excuse.

Don’t: Use your bare hands.
Do: Get a pair of leather gloves at Harbor Freight. Or at the very least change into old clothes and use a pair of latex or nitrile gloves. Tires are dirty. Wheels get covered in brake pad dust. No reason to look like Pig Pen from Peanuts after a simple tire change.

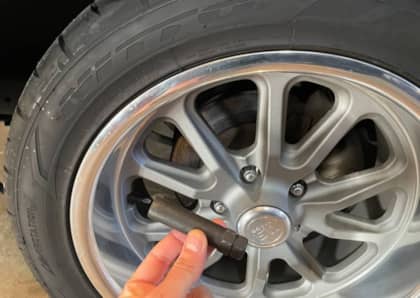
Don’t: Install lug nuts dry.
Do: Use a little dab of anti-seize on each of the studs. Wet climates and differing metals can cause lug nuts to rust and anodized aluminum lugs can gall. A tiny amount of anti-seize on each lug can prevent future problems and a tube of the stuff will last for years.

Pro-Tip: If you forgot to use anti-seize, keep some penetrating fluid handy for especially stubborn bolts. WD-40 is OK, and heat can be used sometimes (but it can be destructive in delicate areas or near paint), but penetrating fluid is better for hard to loosen bolts and nuts. Liberally spray the affected area, wait about 10 minutes to allow it time to penetrate, then try to break it loose again.


